Getting Started
Welcome to Desque, your all-in-one helpdesk solution for managing customer support. This page will guide you through the essential first steps to set up your account, configure your team, and begin resolving tickets efficiently. By the end of this guide, you will be ready to start using Desque as the central hub for your customer communications.

The first step in getting started is creating your Desque account. After signing up at www.desque.ai, you will be prompted to set up your organization profile. This includes entering basic company details, uploading your logo, and configuring your primary support email address. These initial steps personalize your helpdesk environment and ensure customers recognize your brand when they interact with your support team.
Next, you can invite team members and assign them roles. Desque allows you to configure permissions based on responsibilities, whether you are adding support agents, administrators, or managers. By tailoring access levels, you can maintain both security and efficiency. For example, administrators can set up workflows and integrations, while agents focus on responding to tickets. This role-based structure helps your team collaborate smoothly without unnecessary complexity.
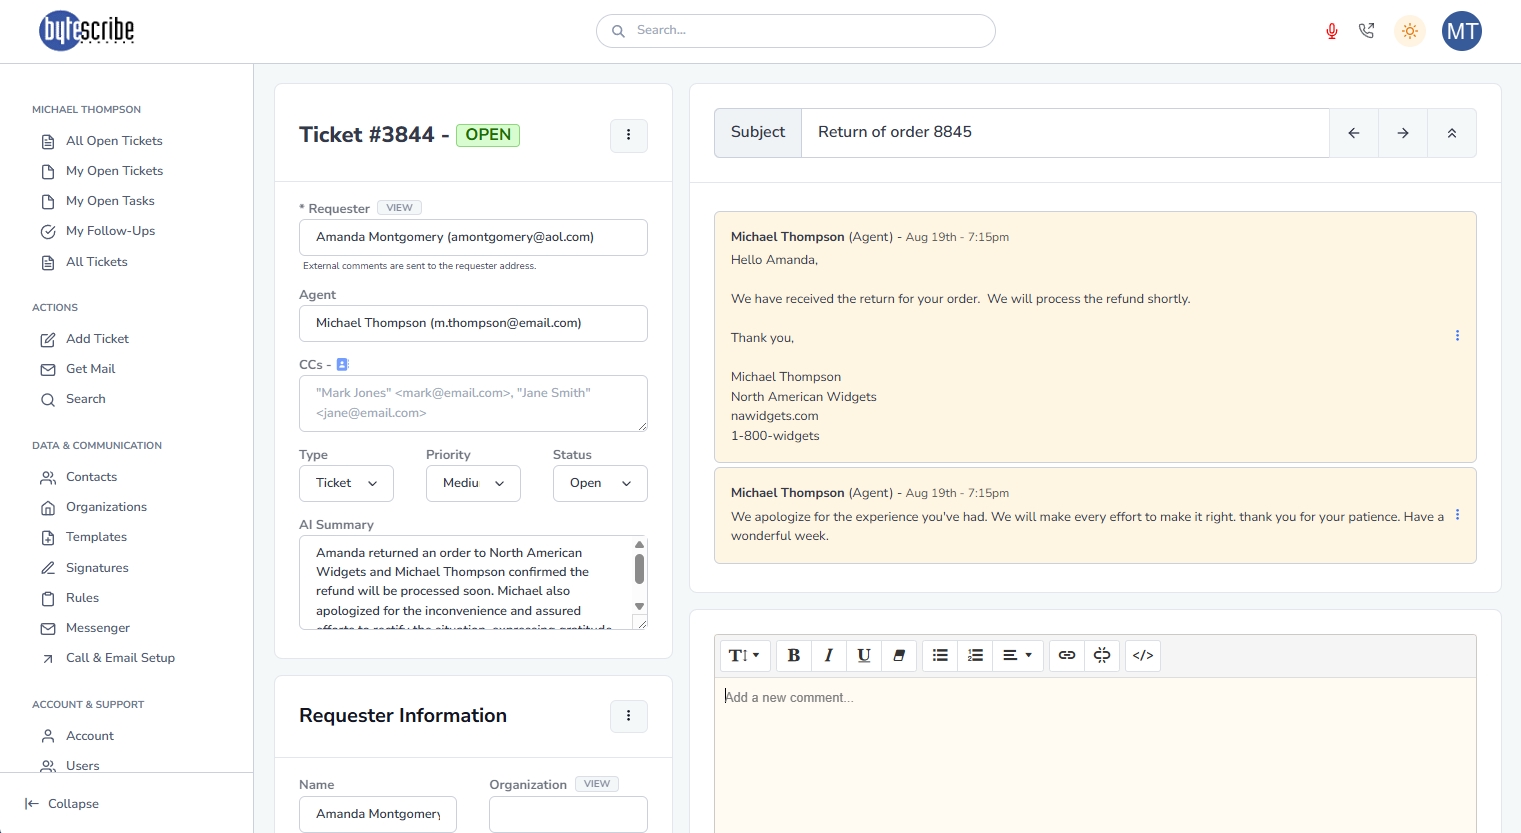
Finally, you should configure your communication channels. Desque supports multiple input methods, including email, chat, and web forms, which can all be routed into your ticketing system. Setting up channels early ensures that customer requests are never missed and are automatically organized into tickets. Once configured, your team can immediately begin tracking, prioritizing, and resolving issues within the Desque dashboard, giving you instant visibility and control over your customer support operations.
Need more help?